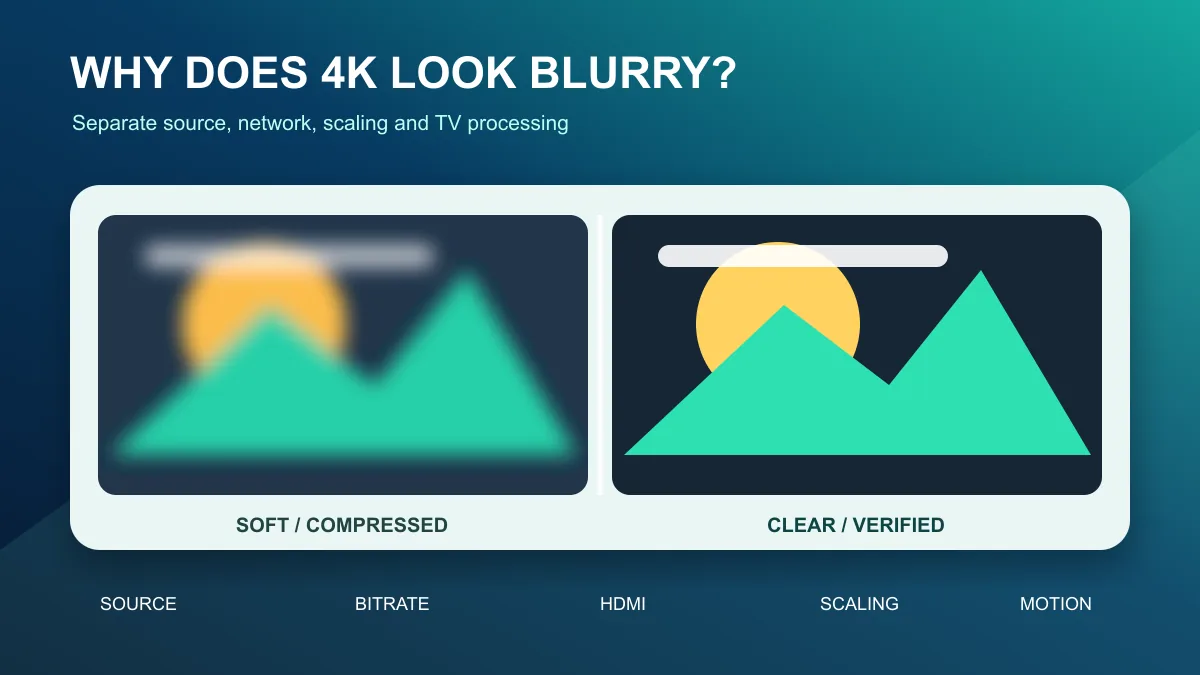
Direct answer: A 4K label does not guarantee a sharp picture. The source may be lower resolution, compressed at a low bitrate, temporarily reduced by adaptive streaming, softened by television processing, scaled by the player, or limited by the HDMI chain. First pause on a detailed scene and determine whether the problem is constant, motion-only or temporary.
Identify what “blurry” means
Different picture faults need different fixes.
- Soft all the time: the source may be 1080p or lower, or the device may output the wrong resolution
- Clear when still but blurry during movement: motion processing, response time or source frame rate is involved
- Sharp at first and soft later: adaptive streaming may be lowering quality as the connection changes
- Blocky or smeared: compression or packet delivery is more likely than television sharpness
- Grainy: film grain, noise, excessive sharpening or a low-quality source may be visible
- Only one title looks poor: the issue is probably the source rather than the television
Use one repeatable scene while testing. Switching among unrelated videos makes it difficult to compare changes.
Confirm the actual source quality
Rule out a screen fault before buying a cable
If the television includes a built-in picture test, use the manufacturer’s instructions for your exact model. A test image generated by the television removes the streaming service and external HDMI source from that comparison. Samsung’s picture-test instructions show why the menu path varies by model year and explain when to contact support with the result.
- If the same defect appears in the built-in test, record it and consult the television manufacturer before changing your subscription or router.
- If the built-in test is clean but one HDMI input is poor, investigate that input and the connected device.
- If menus and several unrelated videos are clear but one stream is soft, start with that stream’s source information.
A clean test does not certify every panel behavior or every picture mode. It is a useful isolation step, not proof that the television can never be involved. Avoid hidden service menus and do not open the television cabinet.
Compare a still scene with movement
Use a scene containing fine text or texture, then compare a still moment with a moving one at your normal viewing distance. If only movement loses detail, record that before changing sharpness. If everything remains soft, investigate source resolution and scaling first. Keep the same app, title and picture mode throughout the comparison; a different film or camera shot is not a reliable before-and-after test.
A television can display a 3840×2160 signal while the video inside that signal is lower resolution. The player or streaming box may upscale 1080p content to a 4K output before the television receives it.
Open the player’s technical information if available and look for source resolution, bitrate, frame rate and codec. Do not rely only on a category name or 4K badge.
Compare the same title with one known high-quality source. If menus and text are sharp but the video is soft, the panel and output resolution are probably working.
The real 4K stream checklist explains how to distinguish source resolution from device output.
Check whether adaptive streaming reduced quality
Some players lower resolution or bitrate when throughput becomes unstable. The result can look blurry without stopping completely.
Test near the television during normal household use. A short speed test beside the router does not prove that the streaming device has a stable connection through walls and interference.
Try these comparisons:
- Replay the same scene after other large downloads stop
- Compare Wi-Fi with a temporary Ethernet connection
- Move from a crowded 2.4 GHz band to a suitable 5 GHz connection when coverage allows
- Restart the router and streaming device
- Check for packet loss and latency variation, not only download speed
The 4K bitrate guide describes why sustained delivery and headroom matter.
Verify device output resolution
Open the streaming device’s display settings and confirm it detects the television’s supported 4K modes. Automatic output is usually a good starting point, but an incorrect handshake can leave the device at 1080p.
After changing resolution, confirm that refresh rate and HDR behavior still match the television. Do not force a mode the panel or receiver does not support.
If an external device passes through a soundbar or receiver, test a direct television connection. This isolates an HDMI component without replacing cables at random.
Inspect the HDMI path
A damaged or unsuitable cable more often causes dropouts, sparkles or lost modes than gentle blur, but the HDMI chain can still limit the available resolution or color format.
Check:
- The streaming device is connected to a 4K-capable television input
- Enhanced HDMI mode is enabled for that input when the manufacturer requires it
- Any receiver or soundbar supports the selected resolution and frame rate
- The cable run is secure and not excessively long
- The device information screen reports the expected output mode
Change one cable or connection at a time, then retest the same scene.
Reduce picture processing that hides detail
Start with a neutral Movie, Cinema or Filmmaker-style preset. Vivid modes can combine edge enhancement, noise reduction and dynamic contrast in ways that make detail look artificial or smeared.
Lower excessive sharpness
Sharpness does not create missing resolution. A high setting adds outlines and halos that can make fine texture look worse. Lower it until text and object edges look clean.
Compare noise reduction
Noise reduction can help a visibly noisy low-quality source, but a strong setting may erase fine texture. Compare Off and Low on a paused detailed scene.
Check motion smoothing separately
Motion interpolation changes movement rather than static resolution. If faces, grass or camera pans become soft only in motion, compare the television’s motion settings without changing color or sharpness at the same time.
Disable overscan
Choose Screen Fit, Just Scan, Original Size or the equivalent setting so the television does not enlarge and crop the image. Extra scaling can reduce clarity.
Use the Smart TV picture-settings guide for a controlled baseline.
Understand 1080p on a 4K television
A 4K panel must scale 1080p video to fill its pixels. Good scaling can look clean at a normal viewing distance, but it cannot recreate detail that was absent from the source.
A very large screen or close seating distance makes source limitations easier to see. Compare from the normal seat before judging a paused image from a few centimetres away.
The 4K upscaling guide explains what a television can and cannot improve.
Use this diagnostic order
Write down the original picture preset and any setting you change. A useful record is the input, app, source resolution if shown, whether the built-in test is clear, and whether the fault appears only in motion. Keep any account information out of screenshots. If a setting does not help, restore it before the next test rather than accumulating unrelated changes.
- Test several authorized sources and identify whether the fault affects all of them.
- Confirm source resolution, bitrate and device output resolution.
- Compare network conditions and Ethernet where possible.
- Test the streaming device directly on a 4K-capable HDMI input.
- Select a neutral picture preset and reduce heavy processing.
- Recheck the same scene after each change.
If only one source remains blurry after every controlled comparison, report the title, device, player and approximate time to the content provider. Television settings cannot restore detail that was never delivered.